Step 2: Select, Identify & Add Working Papers
Last updated: July 29, 2026
Tell Artifact which parts of your workbook are working papers, so it can bind each checklist item to the right supporting evidence.
After the structure step, the wizard lands on the working-papers inventory: every sheet of the uploaded workbook is listed, and you mark each as a Workpaper (evidence Artifact should use) or Skip.
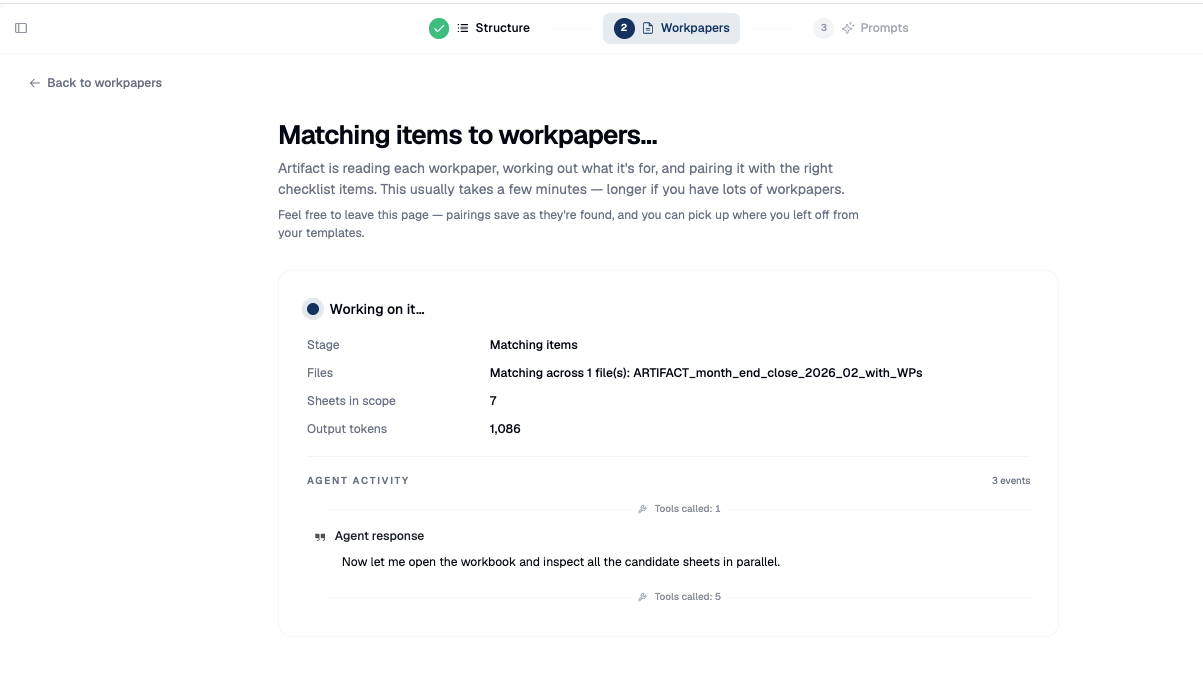
You can upload more workpaper files, then run Find matches — an automated pass that proposes which working paper supports which checklist item, which you review in Step 3.
1. Open the Workpapers inventory
After Continue to workpapers, the wizard lists every sheet of your uploaded workbook, each with an AI-generated description and a role toggle.
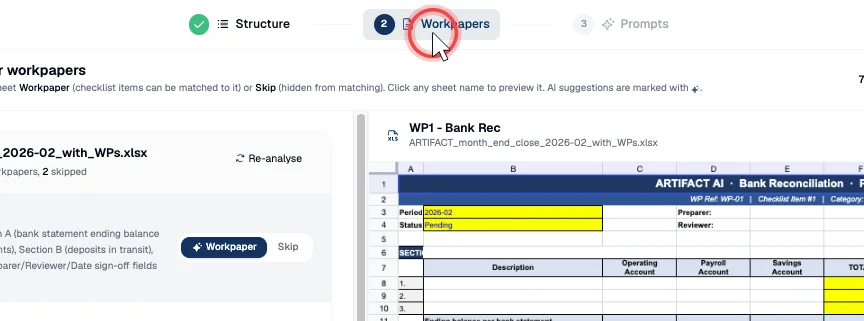
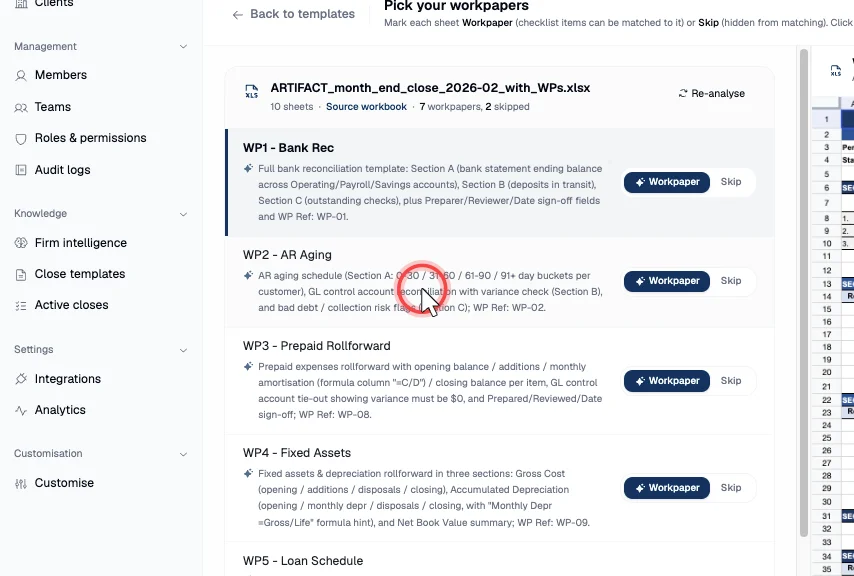
2. Set each sheet's role — Workpaper or Skip
Artifact makes an initial call for each sheet. Mark genuine supporting evidence as Workpaper; leave cover pages, indexes, and scratch tabs as Skip (Skip means Artifact will not treat that sheet as a model to work from). You're curating the evidence set, not accepting everything.
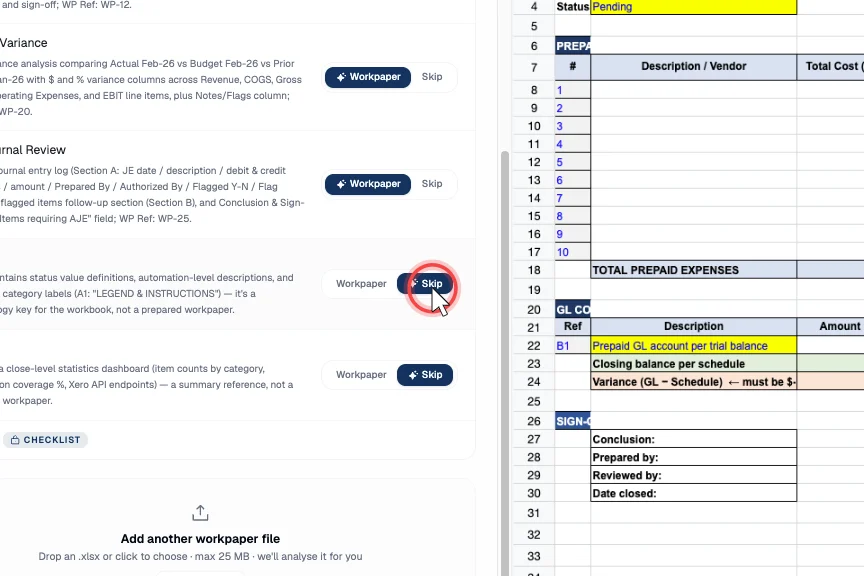
3. Add another workpaper file
Use Add another workpaper file to upload further workbooks or sheets that weren't in the original upload; each is classified on upload. (Per-file Re-analyse and Remove file are available if a file was misclassified.)
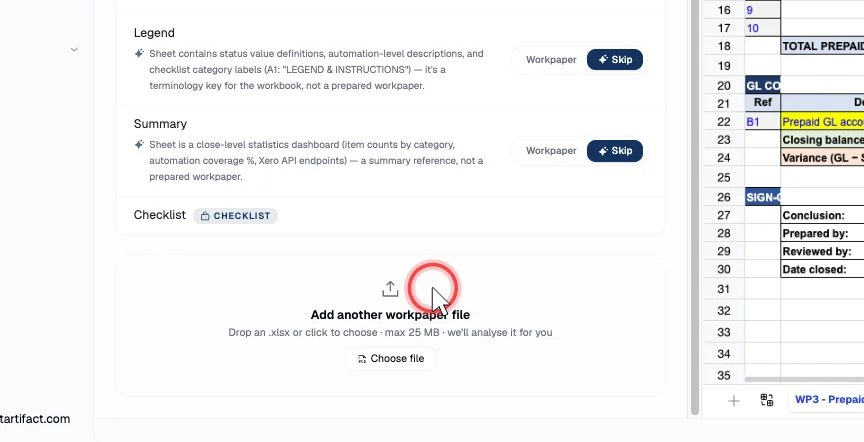
4. Find matches
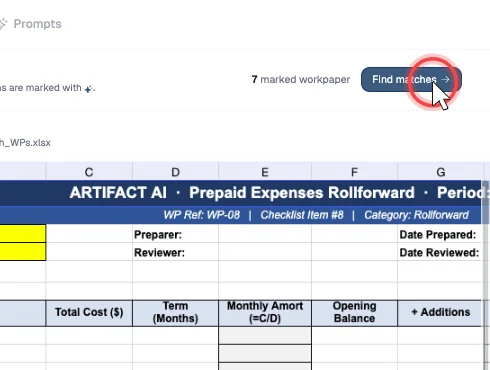
When the evidence set is right, click Find matches to start the automated pass that pairs working papers with checklist items. It runs in the background; you confirm or correct its proposals in Step 3.
Next steps
Good to know
Find matches is asynchronous. It starts a matching run; you review its output in Step 3. You can also Skip, continue to prompts to build the template without working papers.