Step 3: Map Working Papers to Checklist Items
Last updated: August 11, 2026
Map working papers to checklist items (Step 3)
Confirm which working paper backs each checklist item. The Find matches run (Step 2) proposed workpaper ↔ item pairings; Step 3 is where you review those proposals item by item — confirm the right match, swap in a different candidate where it's wrong, or unpair. When every item that needs evidence has the correct working paper bound, you continue to prompts (Step 4).
1. Land on the match review
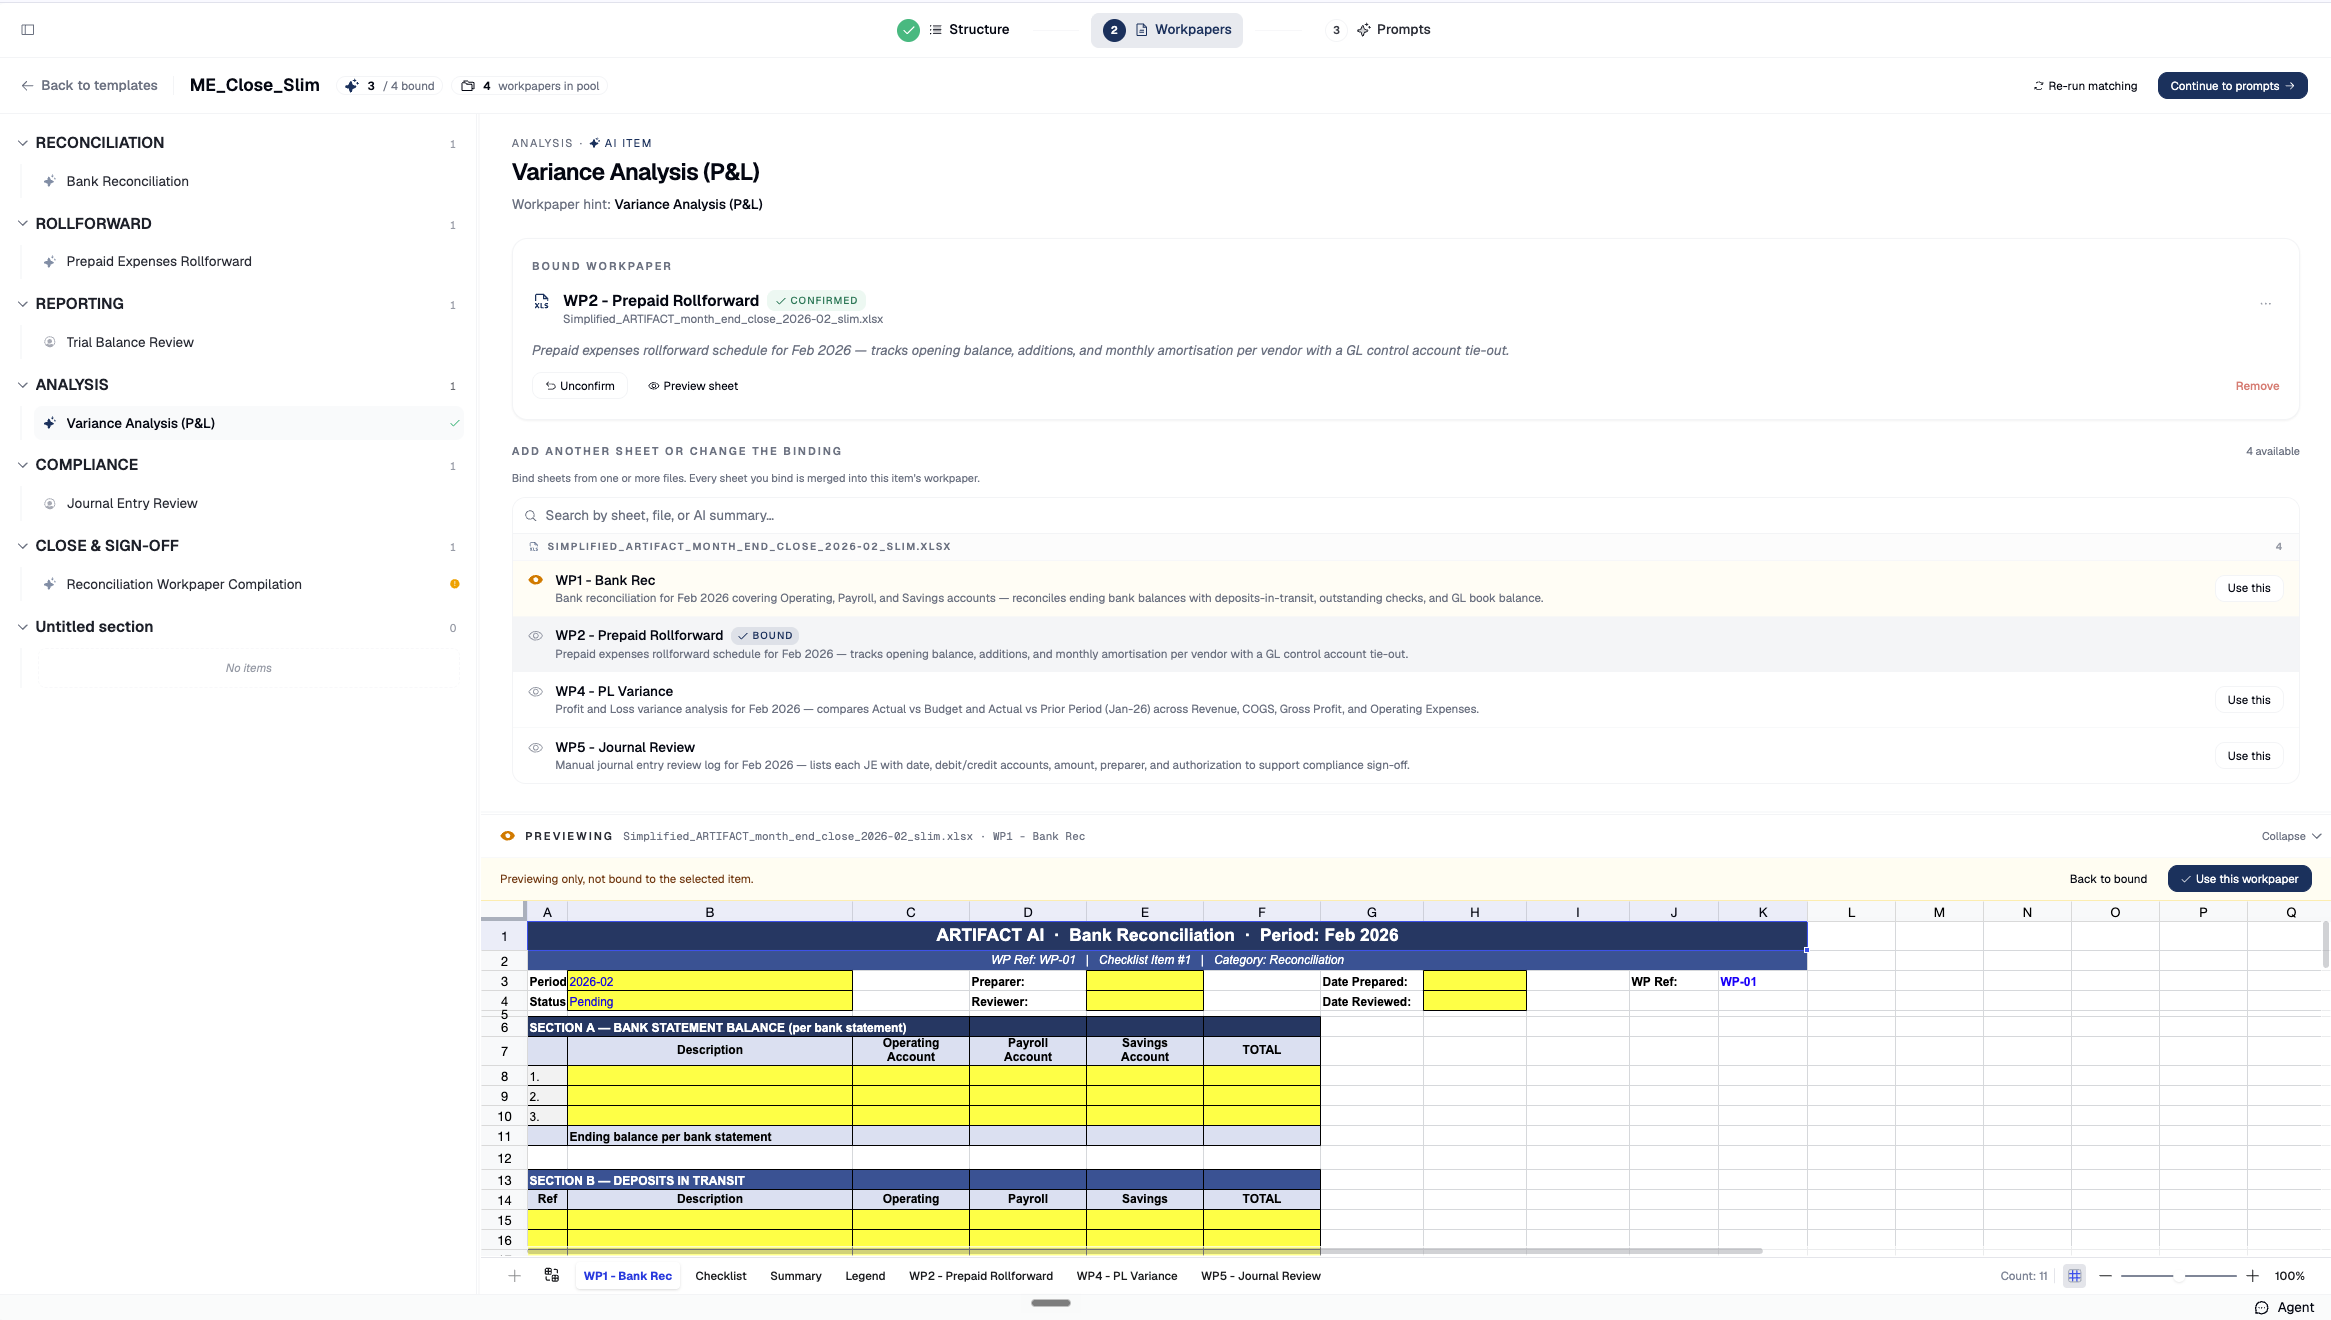
Artifact shows each checklist item with the working-paper match that Find matches proposed. Work down the list, item by item.
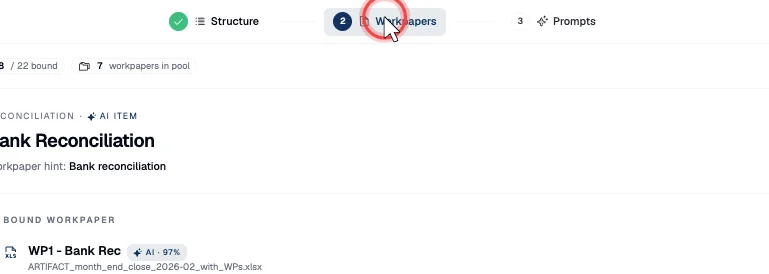
2. Preview a proposed match before you accept it
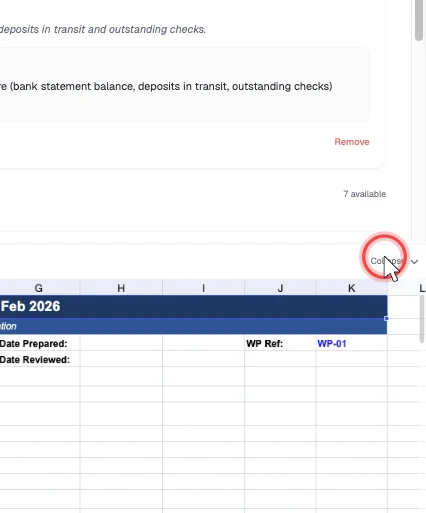
For an item with a working paper attached, preview the matched sheet inline to check it's the right schedule, then collapse the preview to move on.
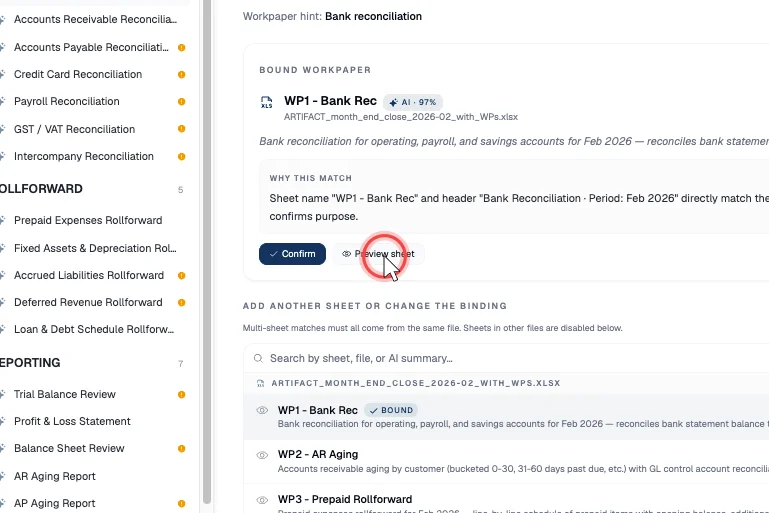
3. Confirm the good matches
Use Confirm match to accept a proposed pairing for a sheet, or Confirm all to accept every proposed match for an item at once.
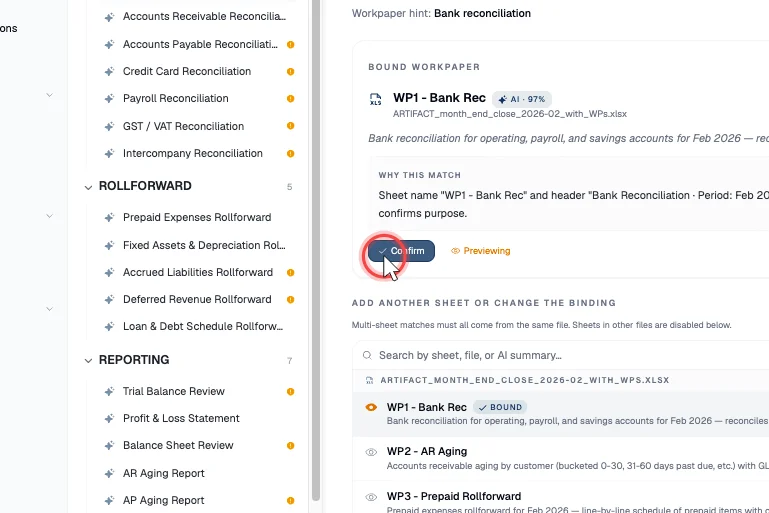
4. Fix or supply the ones that need it
Where the proposal is off, Use this binds a different candidate working paper to the item; Unconfirm and Remove workpaper unpair a match you don't want.
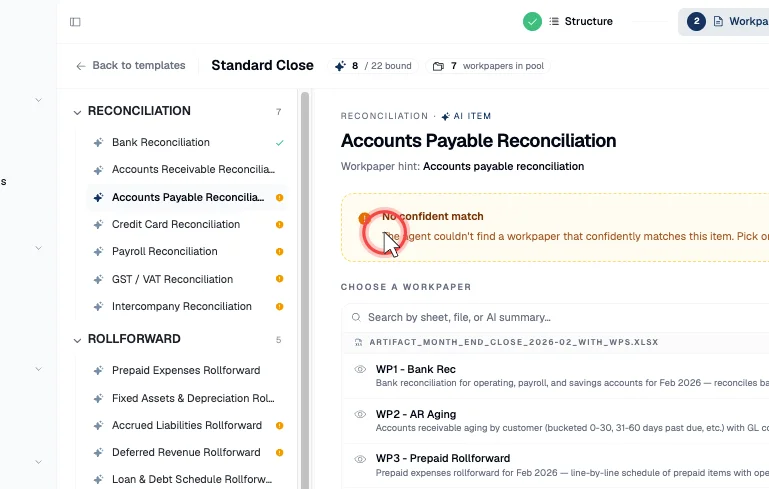
5. Items with no confident match
Where Artifact couldn't confidently match a working paper, the item is flagged (a !). Assign a working paper yourself, or leave it for the AI to build one in the learnt format when the close runs.
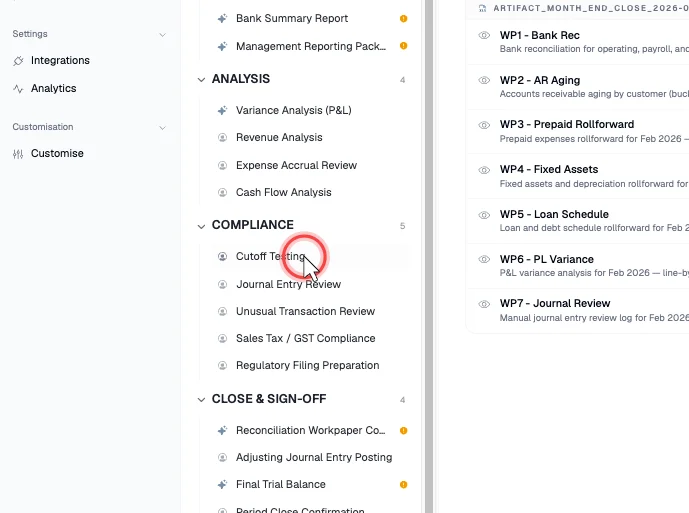
6. Manual items don't get a workpaper
Items marked Manual show a person icon and carry no working paper — they're completed outside Artifact and simply tracked in the close.
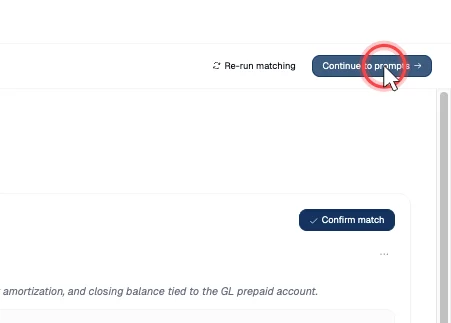
7. Continue to prompts
When the bindings are right, click Continue to prompts to advance to Step 4, where Artifact generates the per-item agent prompts.
Next steps
Good to know
- Prerequisite: Step 2 done and the Find matches run finished — that lands you on the match-review screen with proposed matches ready to review.
- Why the binding matters: the working paper bound to an item is the evidence the close agent reads for that step. A wrong binding means the agent reasons over the wrong schedule — this is the tie-out link between a checklist item and its supporting paper (Workpapers & tie-out (materiality)). The items themselves are the standards-grounded steps in the prebuilt item catalog.
- Manual items aren't matched. A checklist item marked Manual in Step 1 never gets a working paper here — you complete it outside Artifact. Only AI items are matched.